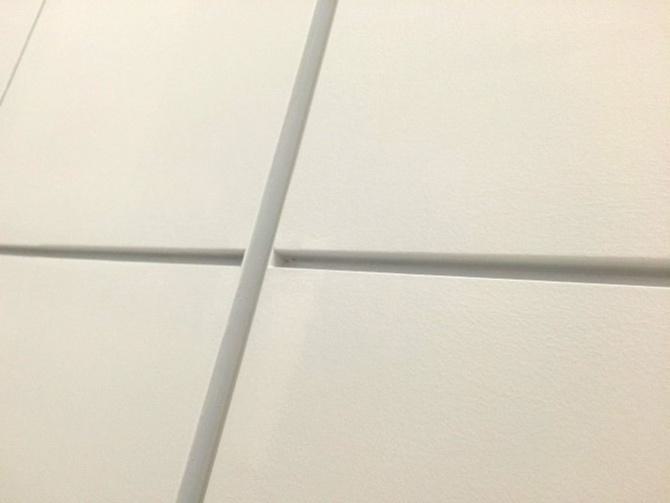
common reveal intersections
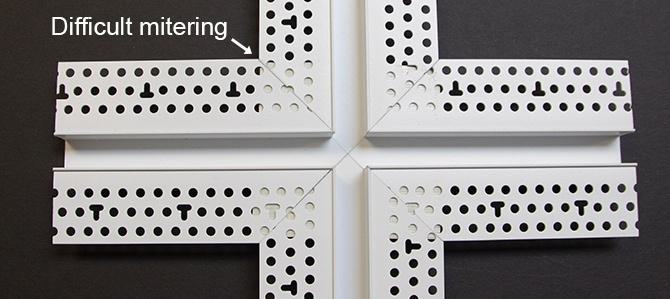
One way to create a reveal intersection is to fit 4 pieces of Reveal Bead together by mitering the ends of the beads in a triangular shape and fitting the pieces together. This is more time consuming, requires more precise cutting and creating an intersection with different size Reveal Beads is difficult.
an easier way to create reveal bead intersections
The steps below highlight an alternate method of creating a Reveal Bead intersection which requires less cutting and gives a unique look. The steps below show you how to transition between two different size reveals, but it is also great for same size reveals.
With a speed square, mark both sides of the reveal bead where the beads will intersect.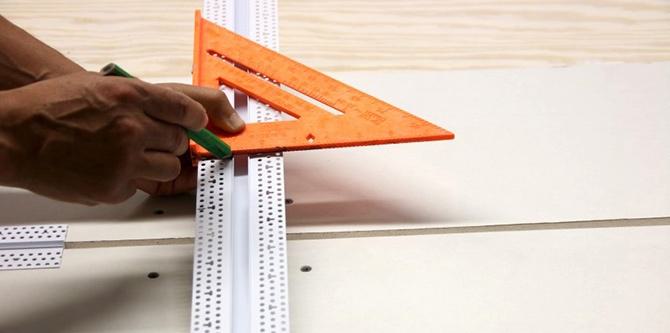
Using a utility knife, cut along the mud bump on each side twice to ensure a clean edge.
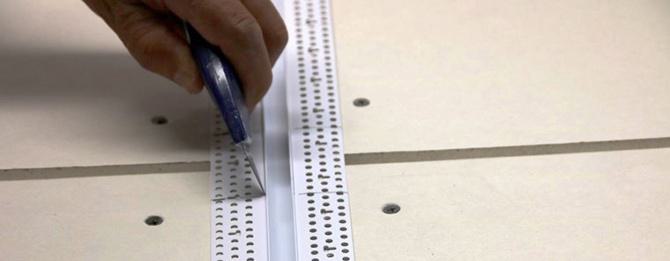
Using snips, cut along the markings that were made with the speed square.
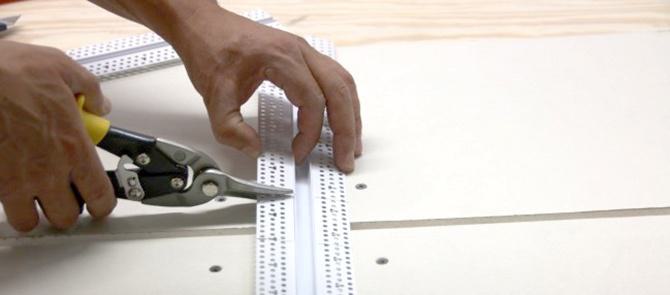
Remove the cut section of the reveal allowing the smaller reveal to fit into the opening.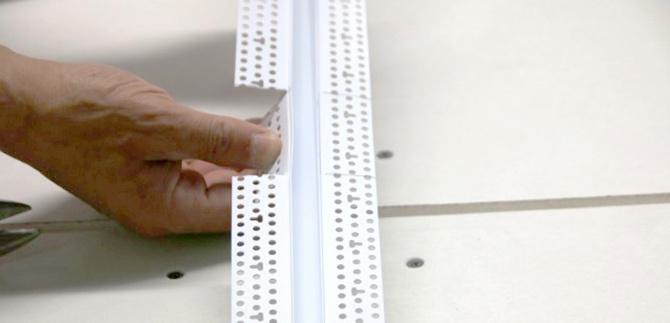
Using drywall adhesive, fill the gap where the mud bump meets the smaller reveal to prevent cracking. Once the smaller reveal is in place, wipe off excess adhesive.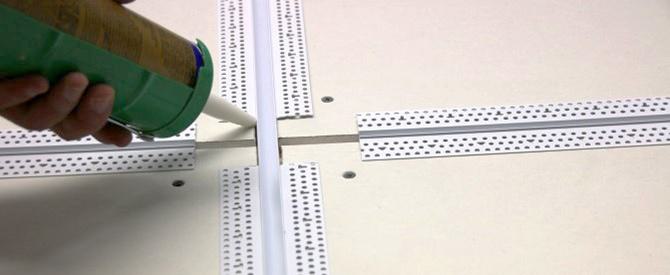
Finally, staple the reveals into place to complete the transition.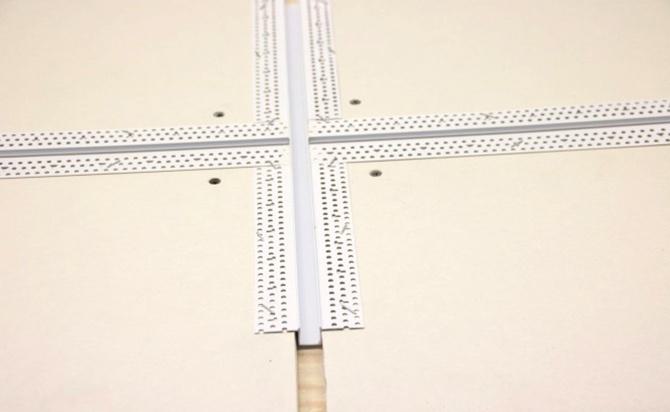
Notice how the reveals transition flawlessly where they intersect. This method also allows you to transition between different size intersection.